Installing Ubuntu StudioNow its time to install Ubuntu Studio. Click the
Start button to begin.
http://www.simplehelp.net/images/vobx/ustudio18a.jpgYoull probably be given a warning that explains how to change the cursor and keyboard focus from the virtual machine to Windows. By default, use the
right control (ctrl) key. Click
OK.

Watch as VirtualBox loads Ubuntu Studio

Click inside the VirtualBox window, make sure that
Install Ubuntu Studio is highlighted, and hit
Enter on your keyboard.

Use the up and down arrow keys on your keyboard to select your language, and hit
Enter when youve made your choice.
http://www.simplehelp.net/images/vobx/ustudio22a.jpgAgain, use the up and down arrow keys to select your Country, and hit
Enter to continue.

Use the left and right arrow keys to select
Yes to auto-detect your keyboard layout. As always, hit
Enter to continue.

Youll be prompted to press one of several keys on your keyboard. Click the appropriate key.

Similar to the previous step, click the appropriate key on your keyboard.

Use the left and right arrow keys to select
Yes or
No regarding the keys on your keyboard. Hint: if youre using a US keyboard, select
No. Youll be prompted to repeat this step with various keys a number of times. Again, if youre using a US keyboard, select
No every time.

Assuming Ubuntu detected the correct keyboard, make sure
Continue is selected and hit
Enter
Watch as Ubuntu detects your hardware

and loads additional components

and configures your network.

Now enter a
Hostname for your virtual machine. As usual, a short but descriptive name is a good idea.

Once again Ubuntu will detect your hardware.

Then it will start the partitioner.

Select
Guided - use entire disk and hit
Enter.

Hit
Enter again.

Watch as the partitioning finishes up.

Select
Yes and then hit - you guessed it -
Enter.

Your newly created virtual partitions will be formatted.

Use the up and down arrow keys to select your time zone. Hit
Enter when youve selected the appropriate one.

Select
Yes, hit
Enter.

Enter your name and hit
Enter.

Select a user name. This is the login/user name that youll use in Ubuntu. Note that user names can contain numbers (though it cant start with one), and all letters must be lower case.

Enter the password you want to use to login to Ubuntu.

Re-enter the password.

Ubuntu Studio will begin installing the base system. Go grab a cup of coffee. This will take a while.

Review the packages that Ubuntu Studio can install.

Select the packages you wish to have installed. Use the up and down arrow keys to move through the list, and use the
Space Bar to select a package. Hit
Enter after youve selected the packages you want installed.

Grab yourself another cup of coffee. Again, this can take quite a while, but it depends on how many of the software packages you opted to install.

Now youll select the resolutions you want available to Ubuntu studio.

Use the up and down arrow keys to navigate through the list, and the
Space Bar to select them. Keep in mind - if your video card and monitor dont support a specific resolution,
dont select it.

Watch as more software is installed.

And finally, its done. Ignore the message about removing media from your CD-ROM, but if you have a floppy in your floppy drive, take it out. Select
Continue and hit
Enter.

Watch as the pretty Ubuntu Studio boot screen loads.

Enter your user name and hit
Enter.

Enter your password and hit
Enter.

To enter Full Screen mode, select
VM from the top menu, and then
Fullscreen Mode from the drop-down list. The first time you enter fullscreen mode, youll be given a warning that explains how to exit and return to windowed view.

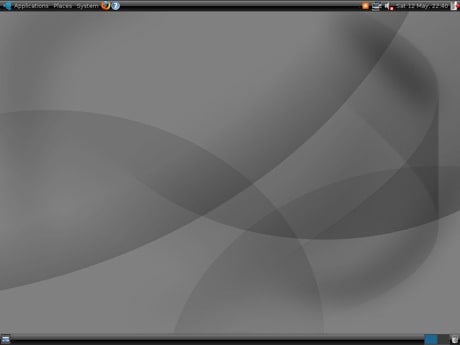
Ta-da! Have fun with Ubuntu Studio
 Tidying up (adding sound and a CD/DVD-ROM)
After youve powered Ubuntu Studio off, select Settings from the top menu.

Select the
Audio entry from the left navigation. Place a check in the box labeled
Enable Audio, and choose
Windows DirectSound from the drop-down list.

Next select
CD/DVD-ROM from the left navigation, and change the
Mount CD/DVD Drive from
ISO Image File to
Host CD/DVD Drive.

The next time you start Ubuntu Studio, sound should work and youll have access to your CD/DVD-ROM
